
I’m writing about MFA for protecting access to manage your AWS resources, but most of the technologies and principles apply to other projects and vendors as well - both Google and Microsoft support TOTP authentication, for example.
With this knowledge, it’s a common assumption to think that enforcing the use of MFA will always ensure that your AWS account will only receive authenticated requests from a human. After all, how can a robot automatically produce a code when it requires human interaction? I’ll show you how.
But first, does it matter?
As with so many things in life, it depends.
If you operate under regulatory rules that require you to authenticate that requests are sent by a specific individual then yes, you should be concerned as you’ll not be able to prove that you’re compliant. Read on to the end to see what other options are available if this applies to you, otherwise this is definitely something you should be aware of. You can then make an informed decision based on your business requirements and the trade off in security vs cost of the various options available.
How it’s done
First of all we want an easy way to send authenticated requests to AWS. For this we’re going to use aws-vault. This tool allows you to securely store credentials (access key pairs) for accessing AWS in your operating system’s encrypted keystore rather than storing them as plain text in your .aws/credentials file. If you’re not using it already, you should definitely give it a try. If you’re interested, one of our previous articles, Securing AWS credentials in development environments explains this in more detail.
Without MFA enabled you can make requests to AWS by providing a username and password or through an access key pair. MFA adds a requirement to also provide an authentication code.
AWS support for MFA is broadly split into two categories, virtual and hardware. Whichever method you choose, they generally work by taking a secret, running a mathematical algorithm on that secret which includes the current timestamp and producing a code that changes every 30 seconds. Using MFA means that in addition to your username and password (or access key pair), which is something you know, you also have something, your MFA device. This is what makes it multi-factor, you know something and have something.
aws-vault
Grab the latest aws-vault from the release list on GitHub. The procedure described here requires v6.0.0 or above.
The first thing we need to do is add a profile that points to an AWS IAM user that has virtual MFA enabled. Here at The Scale Factory we follow a good practice of locating all our IAM users within a dedicated single-sign-on AWS account and then using STS role assumption to access our customers’ accounts. This is what my AWS profile looks like, it’s stored in .aws/config in my home directory:
[profile sf_sso]
region=eu-west-1
mfa_serial=arn:aws:iam::000000000000:mfa/paul
Note that the profile doesn’t contain any authentication information - so how can aws-vault use this to access AWS? We need to add that information using the aws-vault add sf_sso command. This will prompt for your access key ID and secret access key. The aws-vault tool stores those credentials, encrypted, in your operating system keystore: even if someone malicious goes looking at your machine’s .aws/config or .aws/credentials, they can’t see your keys.
At this point you can use aws-vault to login to the AWS account console using the login command. Enter the current MFA code when prompted:
[paul@blog ~]$ aws-vault login sf_sso
Enter token for arn:aws:iam::000000000000:mfa/paul:
pass
So we now have an easy way to login to our AWS account console but it still requires human interaction to input the MFA code when prompted. Let’s fix that by introducing pass (from https://passwordstore.org).
Pass uses a set of plain text files encrypted using gpg to provide a simple but extendable password manager. A design goal of pass is that it follows the Unix philosophy of keeping things simple, a goal that I wish more projects would subscribe to. Read more about that philosophy over on Wikipedia.
We’ll extend the base functionality of pass with an extension that integrates OTP support. I’m using a Debian-based Linux distribution, so I’m able to install both pass and the OTP extension by running apt install pass-extension-otp.
With pass now installed let’s create a new GPG key pair for pass to use, although in this example, we’re not going to use any encryption, so we can easily automate the retrieval of OTP codes. Run gpg --generate-key, give a real name of PasswordStore, your email address and then leave the passphrase blank. The output will look similar to this:
[paul@blog ~]$ gpg --generate-key
gpg (GnuPG) 2.2.12; Copyright (C) 2018 Free Software Foundation, Inc.

GnuPG needs to construct a user ID to identify your key.

Real name: PasswordStore
Email address: paul@scalefactory.com
You selected this USER-ID:
    "PasswordStore <paul@scalefactory.com>"

Change (N)ame, (E)mail, or (O)kay/(Q)uit? O

pub   rsa3072 2020-10-01 [SC] [expires: 2022-10-01]
      D4EA584C607A16E9FEB57AA07BC6BD8BF7434C3B
uid                      PasswordStore <paul@scalefactory.com>
sub   rsa3072 2020-10-01 [E] [expires: 2022-10-01]
We can now initialise our password database using pass init PasswordStore:
[paul@blog ~]$ pass init PasswordStore
mkdir: created directory '/home/blog/.password-store/'
Password store initialized for PasswordStore
With our fresh password database we can now insert the secret used to generate the MFA codes. To enable virtual MFA on an IAM user in the console go to the user and then the ‘Security credentials’ tab. Click ‘Manage’ next to the ‘Assigned MFA device’ and then choose ‘Virtual MFA device’.
By default, the console will show a QR code that you typically scan using an app on your phone but instead we’re going to note down the secret key used and provide that to pass. Click the ‘Show secret key’ link below the QR code and make a note of it. It will look something like this:
SXHDOW3QKYIJDQAUOL7JVGXDX2OP4LICRHYR6XFZH4XR3S3GKP6WUGLE4MBPOLXG
Pass uses an industry standard format called otpauth to input and output secrets, so we need to convert the secret into this format before providing it to pass. Replace $SECRET in this example with the secret provided:
otpauth://totp/totp-secret?secret=$SECRET
Call the insert function and paste in your otpauth URI:
[paul@blog ~]$ pass otp insert sf_sso
Enter otpauth:// URI for sf_sso:
Retype otpauth:// URI for sf_sso:
With this set up, we can now programmatically obtain MFA codes as needed, using pass:
[paul@blog ~]$ pass otp sf_sso
409442
[paul@blog ~]$ MFA=$(pass otp sf_sso)
[paul@blog ~]$ echo ${MFA}
409442
Tying it all together
The final step is tying this ability into aws-vault. Version 6 of aws-vault added integration with the pass tool for fetching secrets, including TOTP one-time codes. By default, aws-vault looks up the MFA code from pass by its MFA serial name; I called my OTP secret sf_sso, so I’m going to override that using the undocumented PASS_OATH_CREDENTIAL_NAME environment variable.
When I run aws-vault to get an MFA-authenticated session, I set the prompt backend to pass, so that aws-vault will automatically obtain the MFA code when required, with no prompt:
[paul@blog ~]$ export PASS_OATH_CREDENTIAL_NAME=sf_sso
[paul@blog ~]$ /aws-vault --prompt=pass exec sf_sso -- aws sts get-caller-identity
{
    "UserId": "AIDAJ3XDFG4PACDWIYGYA",
    "Account": "000000000000",
    "Arn": "arn:aws:iam::000000000000:user/paul"
}
In the background, aws-vault is obtaining the MFA codes from pass. Now we can use this to automate access to AWS APIs, passing any IAM policy checks for MFA, but without any human interaction.
But why?
So why am I telling you all of this? I just wanted to illustrate how ticking that ‘Require MFA’ box doesn’t necessarily mean that the request will be made by a human supplying a code. It’s entirely possible and relatively easy to completely automate the process.
Mitigations
So what options are available if you want to ensure that a human is at the other end? Essentially you need to be looking at the hardware MFA options. Any MFA protection offered through software can, with varying levels of difficulty, be automated. But even the hardware options are not always a guarantee that a human will be at the other end. A real question you should think about here is “Do you trust your staff?”. Building trust in your organisation is absolutely the best protection you can get without having to go down the hardware route.
One of the hardware MFA options provided by AWS is U2F devices. Universal 2nd Factor (U2F) is an open standard for performing multi-factor authentication using USB or NFC tags that require a user to be present which a physical USB device or a hardware tag and NFC hardware.
This sounds great in theory but there’s already software implementations, including:
- https://github.com/github/SoftU2F
- https://github.com/SoftU2F/SoftU2F-Win
- https://github.com/solokeys/solo
The point is, that these software implementations make it possible to self-enroll U2F, bypass the hardware requirement and automating the submission of the MFA code. It’s a similar risk to the one I demonstrated with aws-vault and pass.
For protecting AWS access, you have two hardware MFA token choices. These differ from the software options in that these devices have a secret key ‘burned’ into them at a hardware level and it’s not (trivially) possible to extract that secret key to use it in software outside of the physical device.
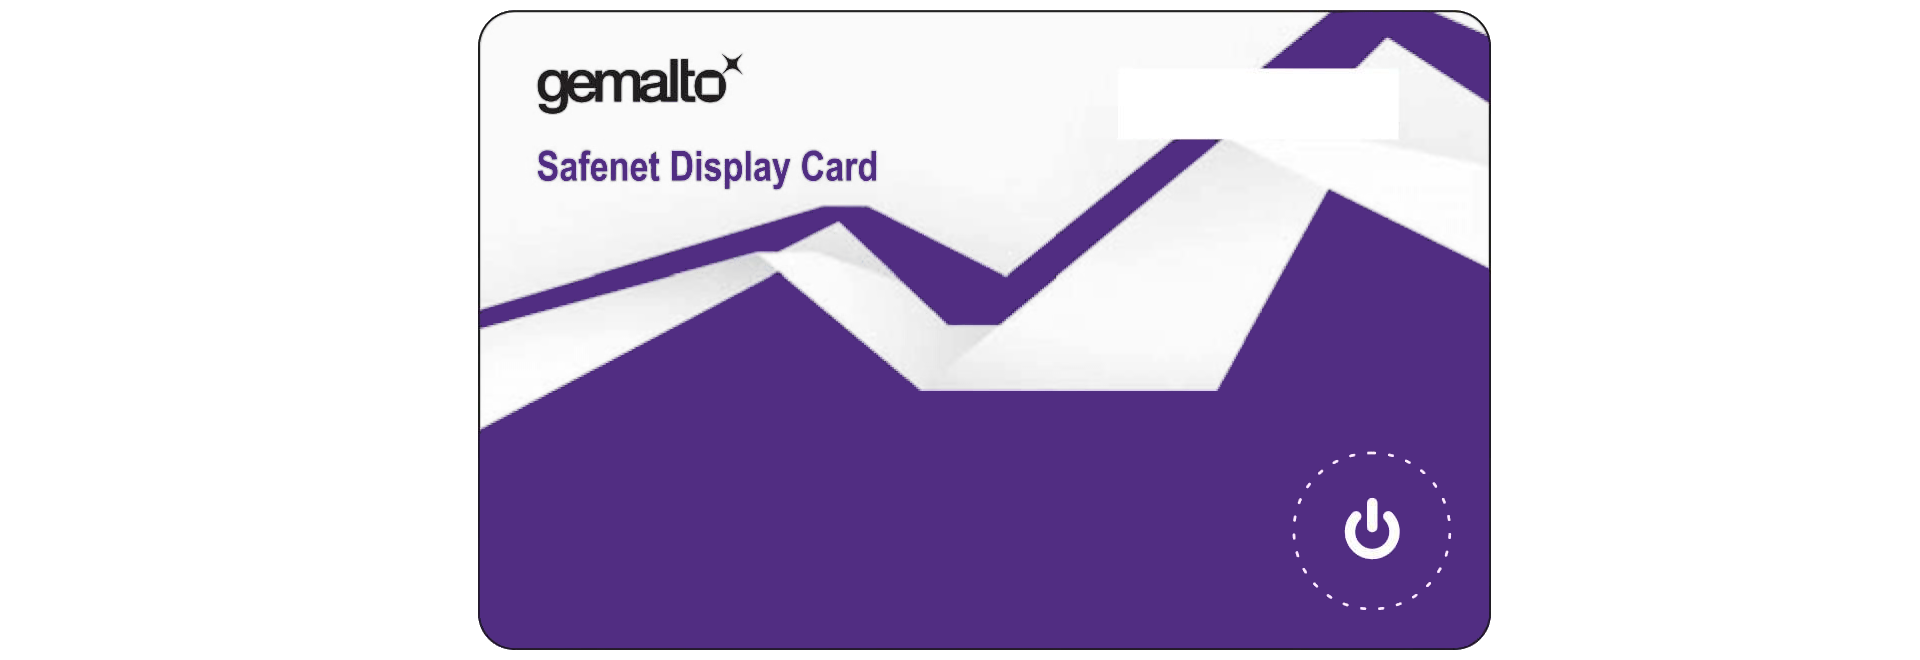
Gemalto hardware device in credit card form
These devices should be purchased by the AWS account administrators, enrolled as MFA devices on the IAM users accounts and then shipped out to the end user. IAM permissions should then be restricted to prevent the end user from switching one device to another (and potentially a virtual one).
Introducing the YubiKey
Another solution is to take a hybrid approach by using Yubico YubiKeys. These USB devices can be used to generate TOTP codes like a virtual MFA device by physically pressing a touch sensitive button on the device.
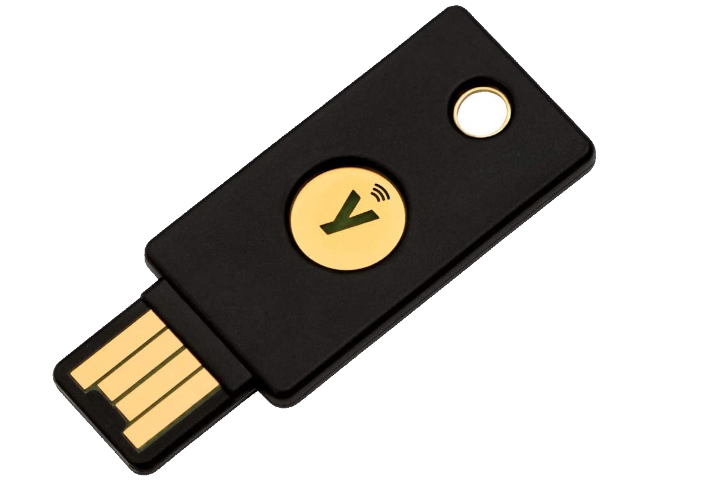
Yubico YubiKey
YubiKeys have a major advantage over software based devices, you can write an OTP secret to the device but you can’t read it back. This opens up the possibility of the IT department in your organisation procuring the keys, enabling virtual MFA on users IAM accounts, writing the OTP secret to the keys and then shipping them out to end users. The end user would not have any permissions to change the assigned MFA device, nor could they retrieve the OTP secret from the device to use elsewhere.
Security vs cost vs convenience
It’s also worth mentioning that virtual MFA when used with the right tooling and trust in your staff can still be the right solution, it’s a trade off. Many phone apps are available that provide TOTP codes with an extra level of protection added by the biometric abilities of the mobile device, like fingerprint scanning and face recognition. So long as you trust your team, their tools and their devices, apps like Aegis, Authy or Krypton make life harder, not easier, for an attacker. And if you don’t trust your team I’d fix that first.
That leaves one remaining way to automate the submission of MFA codes…

Replace with hardware dongle
…and if you think I’m joking, check out this highly detailed blog post that goes through in meticulous detail how to create a little robot that will automatically press the button on your hardware dongle.
At this point, it becomes a HR issue!
Designing effective systems security for your SaaS business can feel like a distraction from delivering customer value. Book a security review today.
This blog is written exclusively by The Scale Factory team. We do not accept external contributions.